|
The Map Clients screen lets you map a client in your Time and Billing system to an eBillingHub client. This mapping determines the the format of the invoice, the data validations performed on the invoice destination of the invoice.
|

|
If a client requires you to send attachments with the invoice, or to submit invoices to specific recipients or in a format other than a LEDES format, click here for alternate client setup instructions.
|
To map clients, follow these steps:
1. Click the Map Clients option from the Client Setups tab to display the Map Clients screen.
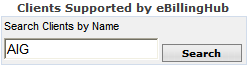
2. Search for the client in your Time and Billing system that you want to map. You can enter all or part of the client name, or the entire client number as search criteria. The example below shows a search for "AIG" as part of the client name.

3. Click Search to display a list of all clients from your Time and Billing system that match your search criteria.

4. Select the client you want to map by clicking its name in the list.

5. Find the matching client in the eBillingHub client library by entering all or part of the client name. The example below shows a search for "AIG" as part of the client name.
6. Click Search to display a list of all clients from the eBillingHub client library that match your search criteria. (Clicking Search without entering any text displays the entire client list.)
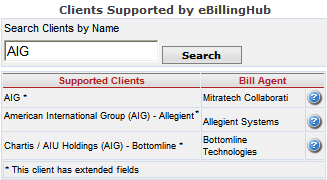
An asterisk (*) next to a client name means the client requires additional information (extended fields) from your Time and Billing system. To view this information, as well as additional vendor information, click the question mark icon .png) . .
|
.png)
|
eBillingHub clients are set up using the client name as it appears on the vendor site. If the client has a different name in your Time and Billing system, choose the eBillingHub client name that you would use for billing on the vendor site. Also, because many clients are set up using multiple vendors, check the vendor name (Bill Agent) to see if it matches the vendor from your Time and Billing system.
|
7. Select the eBillingHub client by clicking its name in the list. This action populates your selection in the Mapped To column for the Time and Billing system client.
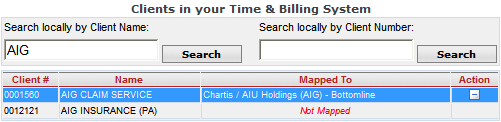
The new client mapping is also added to the Current Map List at the bottom of the screen. To delete a mapping, click the Clear icon  in the Action column. in the Action column.
8. Click Save to save the new mapping.
Related Topics
.png) eBillingHub Supported Clients List eBillingHub Supported Clients List
eBillingHub Supported Vendors List
Mapping Client Extended Fields
Designating Expense Codes and Timekeeper Titles
|