|
This Billing Wizard step lets you select invoices from your Time and Billing system that you want to submit to eBilling vendors for payment.
To select invoices, follow these steps:
1. Click a client's name to display a list of all invoices for that client that meet the Billing Wizard's criteria.
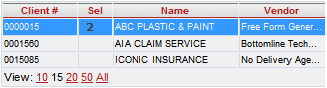
To make it easier to find a particular client, you can filter the client list by eBilling vendor or client name. You can also remove clients from the list that do not have pending invoices by synchronizing all Active Invoices with your Time and Billing system.
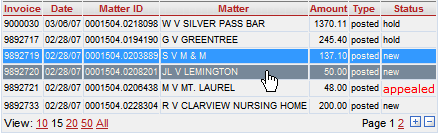
2. Click on the invoices you want to submit. As you select invoices, the Sel column in the client list updates to reflect the current number of selected invoices.
|
.png)
|
To select or unselect all items in a multi-page list, first select the All option in the View tool, and then select the plus or minus sign. For instructions on using the View, Page and Sort tools to manipulate the list data, click here.
|
3. If you want to select invoices for another client, select the client's name and then the invoices for that client.
4. Click Next when you are finished selecting clients and their invoices. The Billing Wizard then retrieves the invoices, validates them against the client's eBilling specifications and displays the validation report.
|

|
The validation process may take a few seconds to several minutes depending on the number of invoices selected.
|
5. Continue the submission process with Step 2: Review Validation Report.
Related Topics
.png) Filtering the Client List Filtering the Client List
Manipulating List Data
Synchronizing Invoices
|